If you choose to install before the workshop begins
If you’re installing R, R Studio, and QGIS before the workshop begins, you can follow these instructions instead of the USB instructions. (All the steps below have been taken on the USB drives.)
Before you start
Check that you have about 5 Gb of free space on your computer’s hard drive. On Windows 10, you can open File Manager and click This PC for a look at your drive space.

R and R Studio
You’ll need to install R before R Studio, and after you’ve installed R Studio you’ll need to run some manual package installation and library loading scripts. We’ll start with R.
- Download R from the CRAN website.
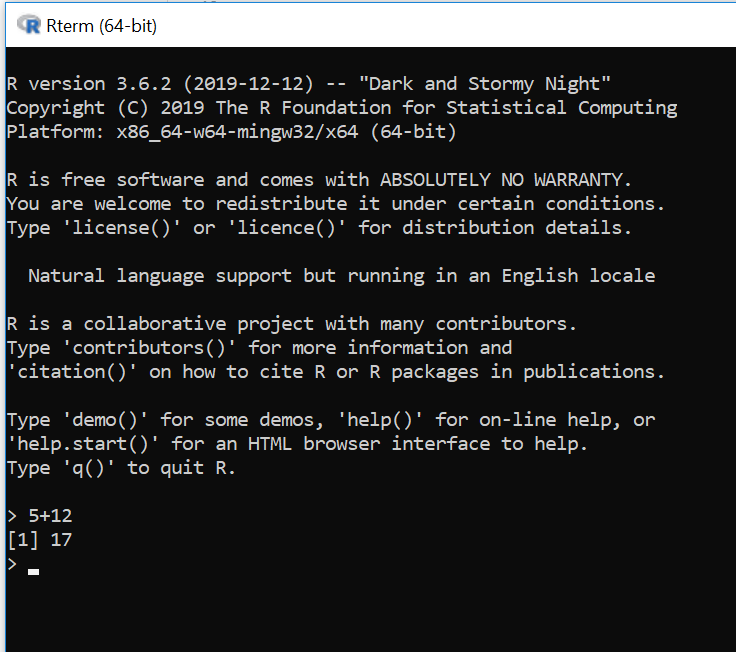
- Run the
.exefile that was just downloaded - In the command line window that launches, you should see some R descriptive text and a “>” symbol.
- You can do some simple math on the command line (such as 5+12) to make sure it’s fully loaded and responding.
Next:
- Go to the RStudio download page
- Under Installers select RStudio x.yy.zzz - Windows Vista/7/8/10 (where x, y, and z represent version numbers)
- Double click the file to install it
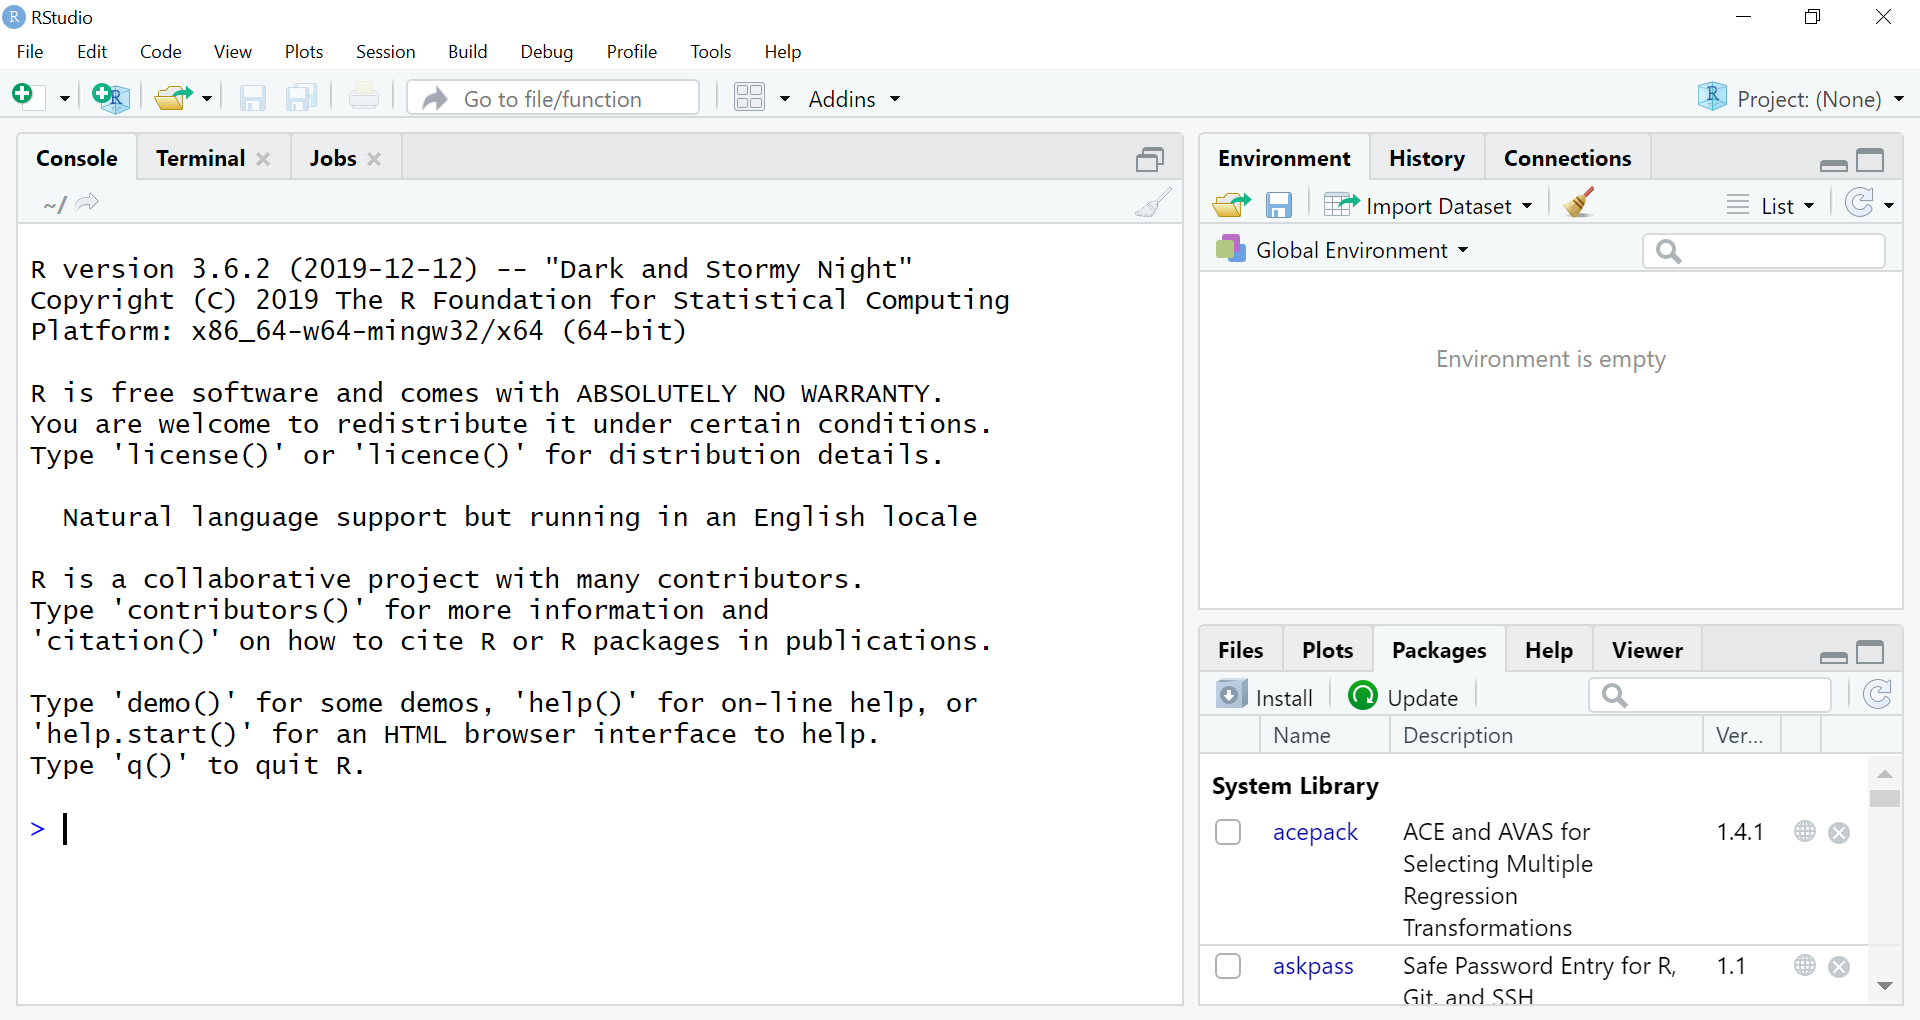
- Once it’s installed, open RStudio to make sure it works and you don’t get any error messages.
Installing the geospatial and federal data packages
When RStudio is open and working, create a new R script file.
Here’s where to make a new script:

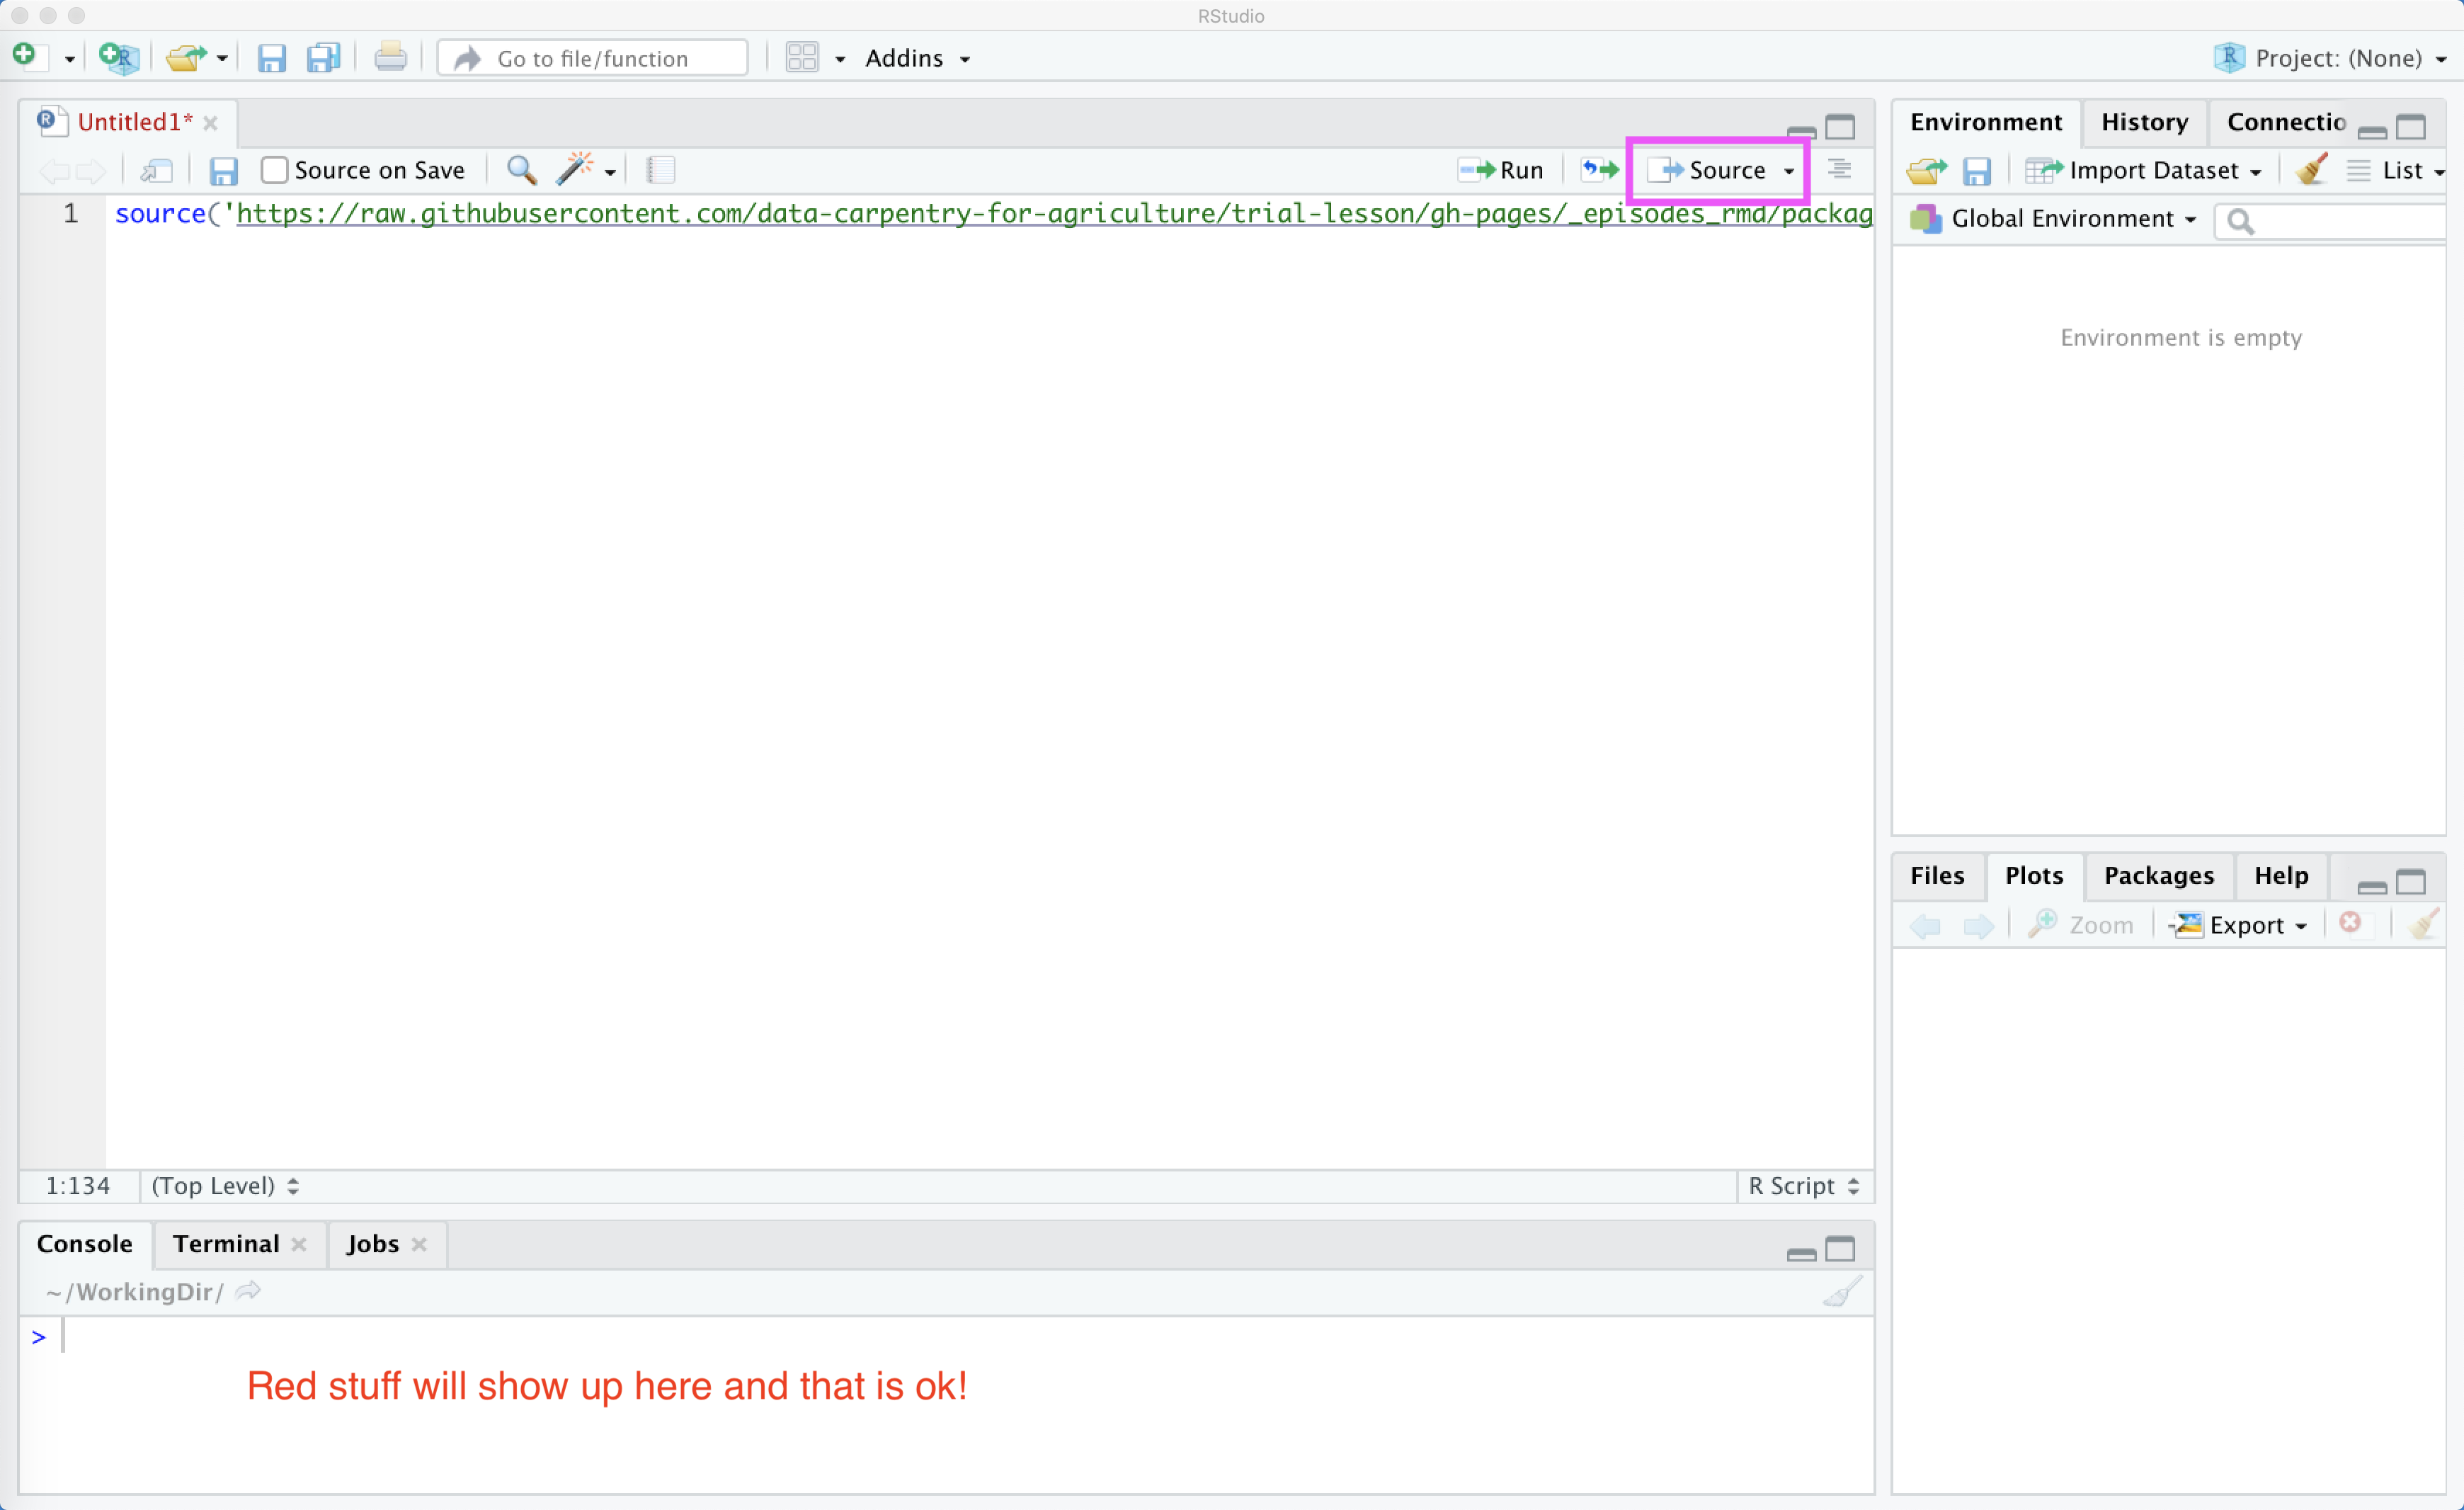
When you open a new script, your RStudio will now look like this (without the red labels):

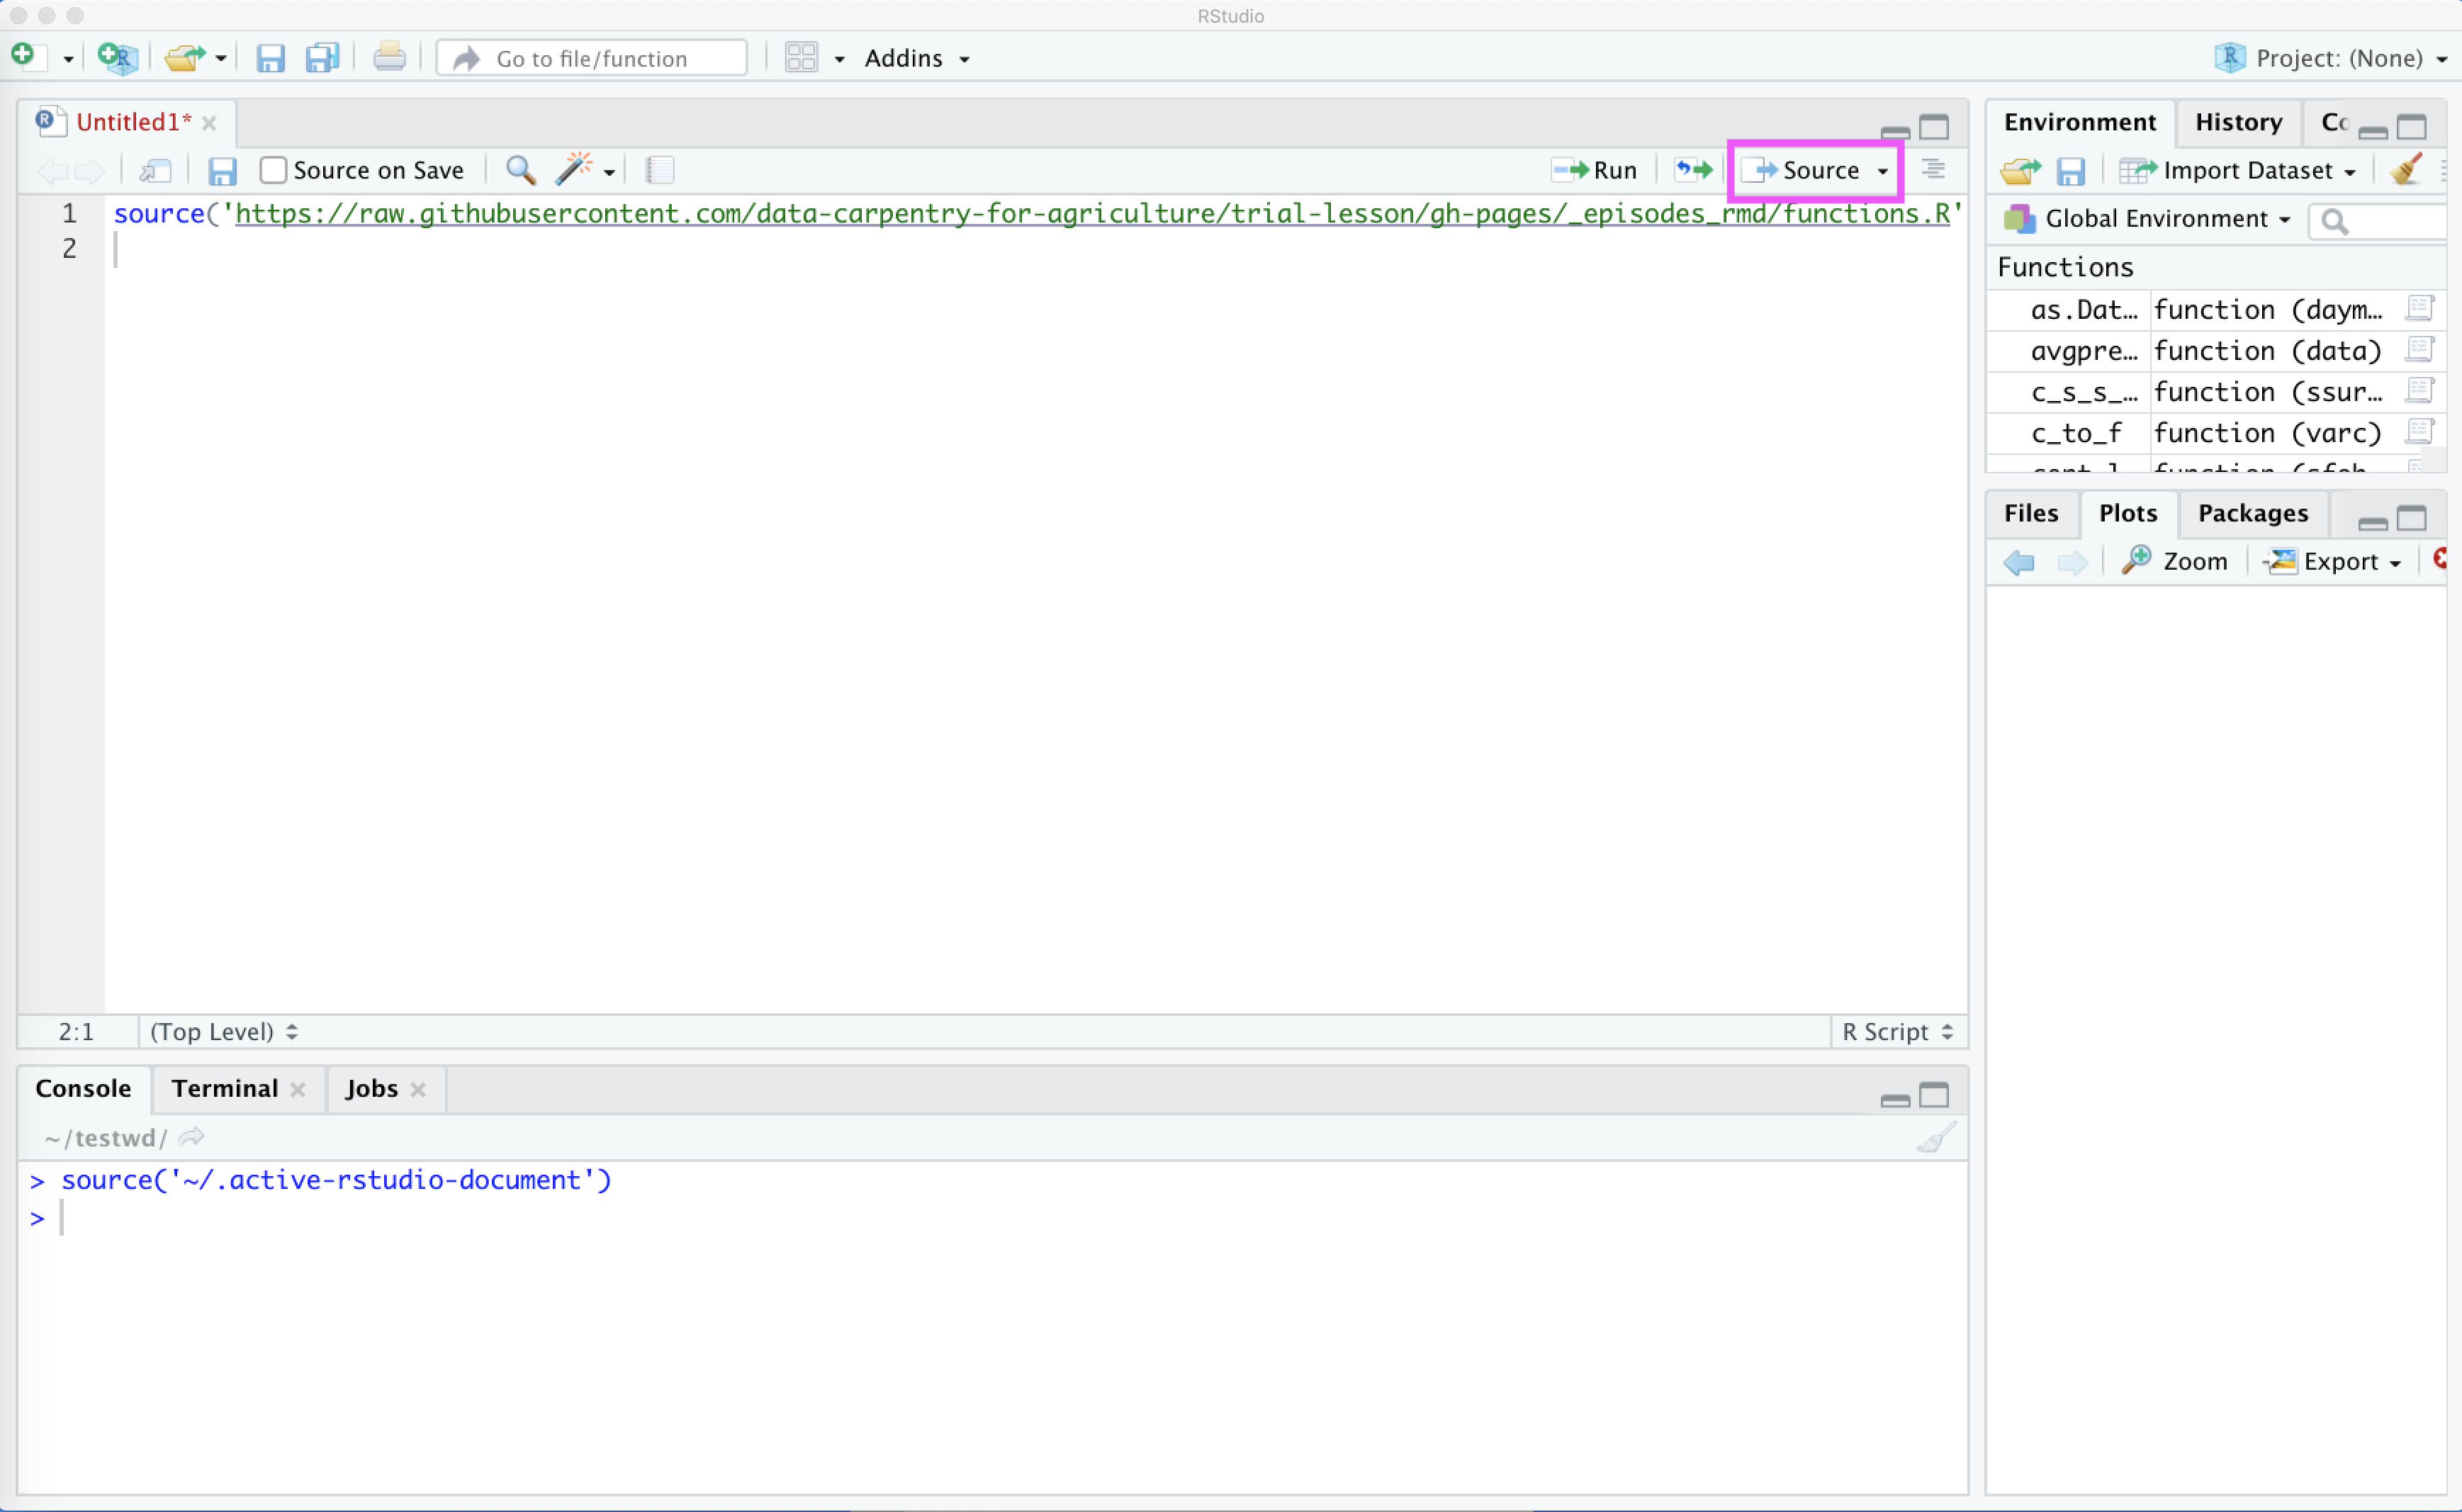
Once this is done copy the following into your script window:
source('https://raw.githubusercontent.com/data-carpentry-for-agriculture/trial-lesson/gh-pages/_episodes_rmd/package_install_script.R')
And follow it by pressing the Source button. You might get some red words showing up, and that is normal! If you see any red with the word Error in it, this may indicate a problem however.
This looks like:
- If the red stop sign in the top right corner of the console is still highlighted, an installation process is still running.
- If you see a blue > in the console , you’re ready to go.
This action is “sourcing” i.e. running a bit of code from the internet that installs a bunch of libraries that provide functionality that is not included with standard R installation.
Alternatively, you can copy the following into the script window or console:
install.packages("ggplot2")
install.packages("rgdal")
install.packages("dplyr")
install.packages("sf")
install.packages("gstat")
install.packages("tmap")
install.packages("measurements")
install.packages("daymetr")
install.packages("FedData")
install.packages("lubridate")
install.packages("raster")
install.packages("data.table")
install.packages("broom")
Checking that the packages installed correctly
We have a test script to make sure all packages have installed correctly. To run this test script, we will “Source” it’s location like we did above for the package installation script.
In your script window you can type in:
source('https://raw.githubusercontent.com/data-carpentry-for-agriculture/trial-lesson/gh-pages/_episodes_rmd/functions.R')
… and then press the Source button. This will look like:
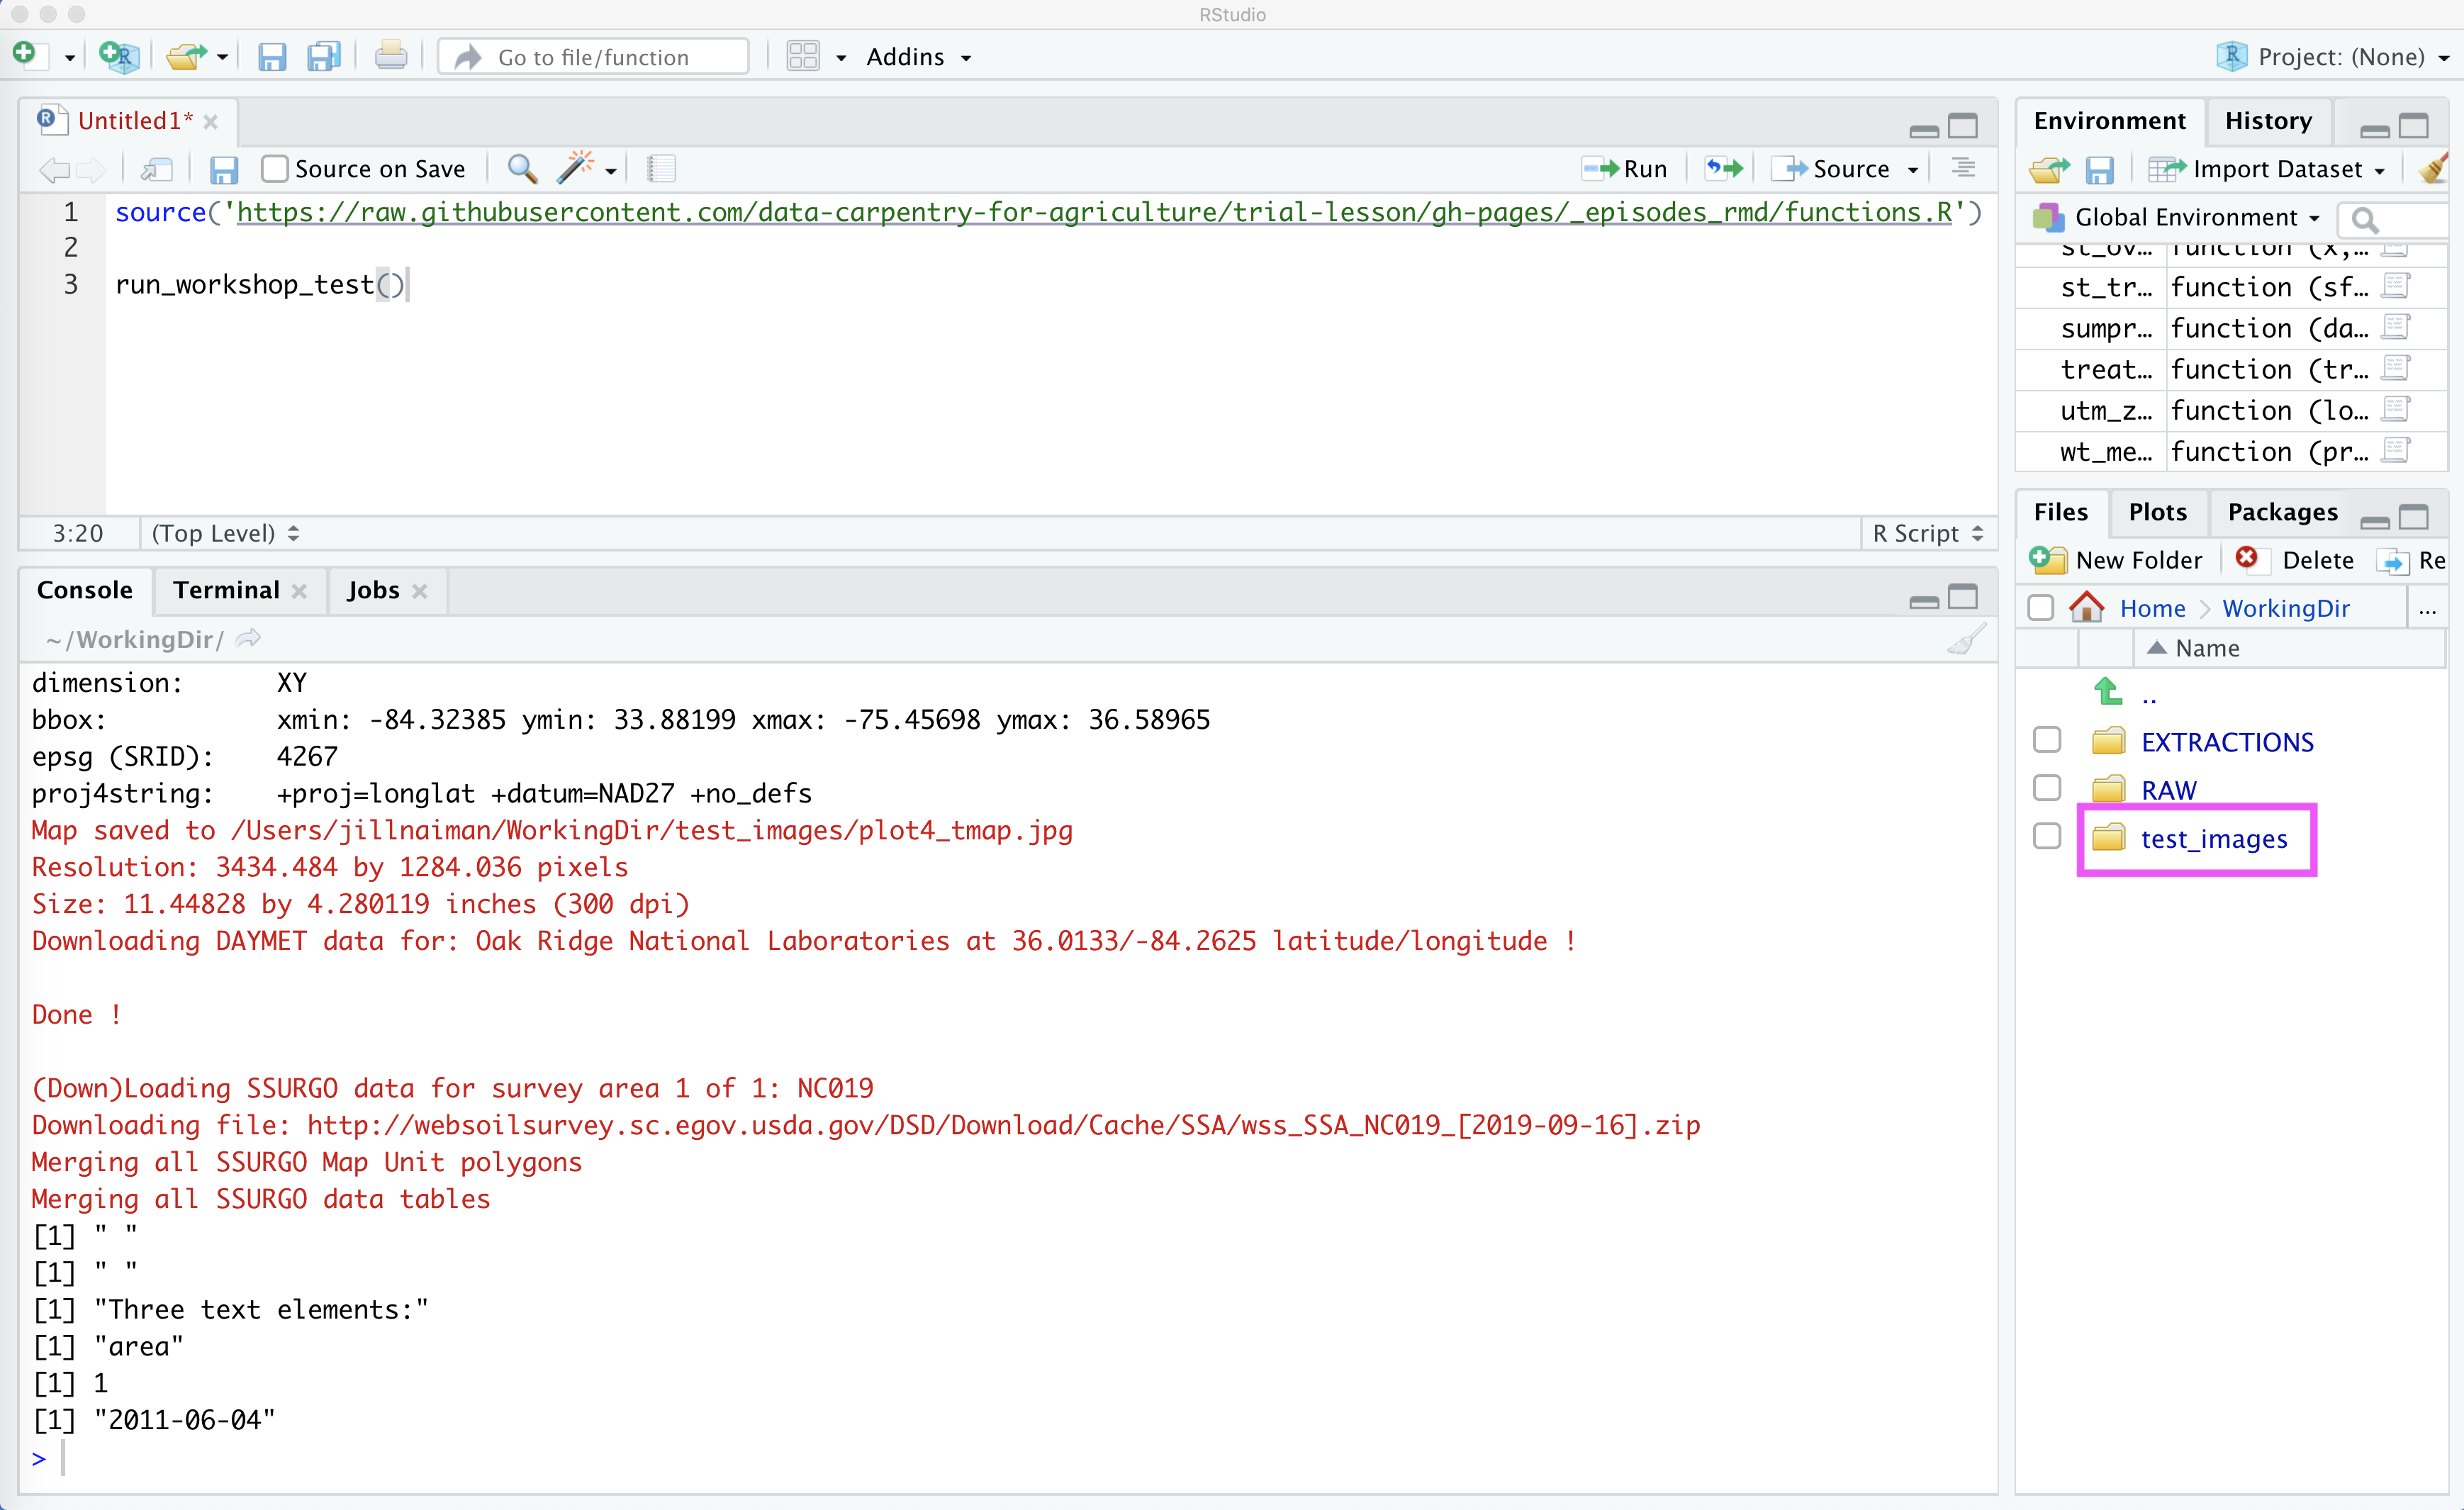
Next, we will run the test script to see what happens. When we run this script, it will create a new directory called WorkingDir to save all of our test images in. This directory will also be used to store data for this workshop. (You can change the default creation location for WorkingDir by calling the function as run_workshop_test(workingDir='YOUR DIR'), shown below is how this looks for the default).
Once we press the Source some things will download and be calculated, and a new file called WorkingDir will show up in our file list:

To check that all our images have been created, we can click on WorkingDir in our File list in RStudio (see #2 in above figure), and then navigate to test_images:
Once you open this file, you should see several images:
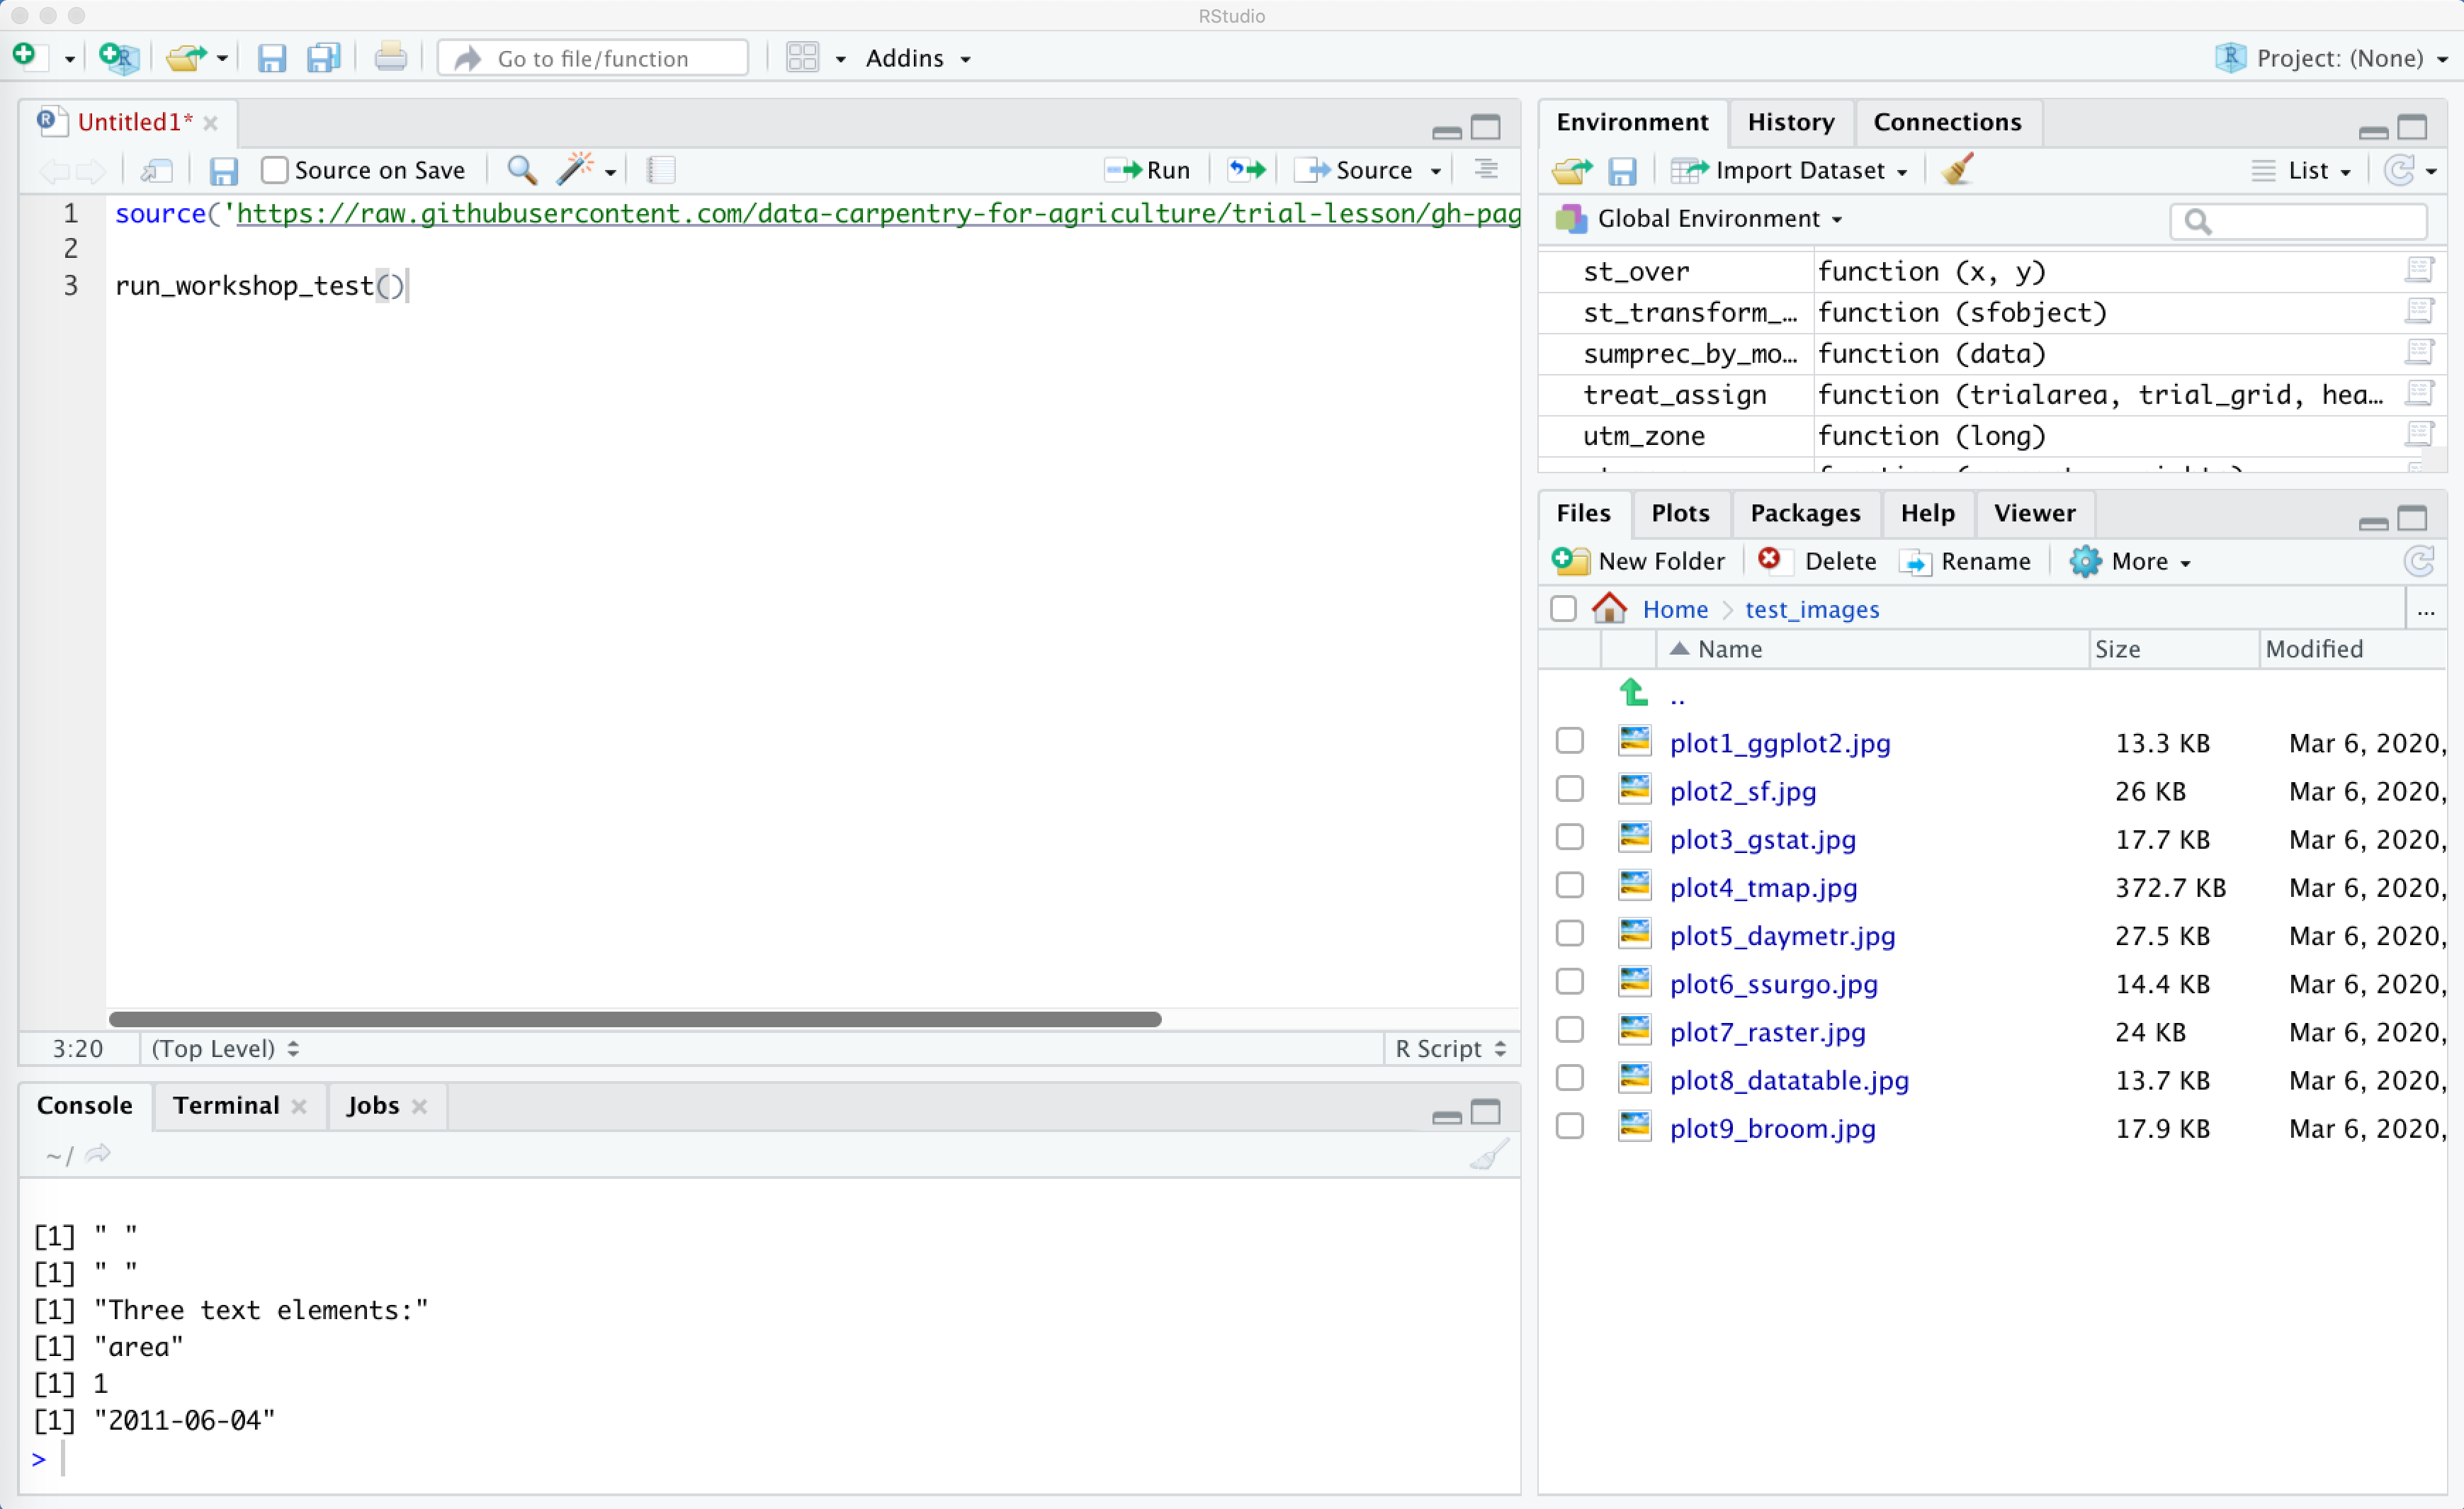
You can click on each of these to open them up. Here is a grid of what each one should look like:
plot1_ggplot2.jpg 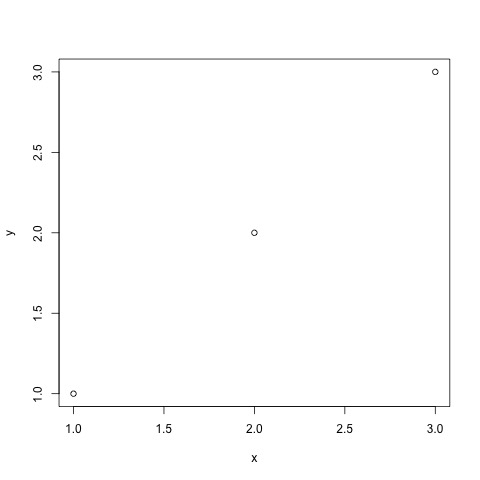 |
plot2_sf.jpg 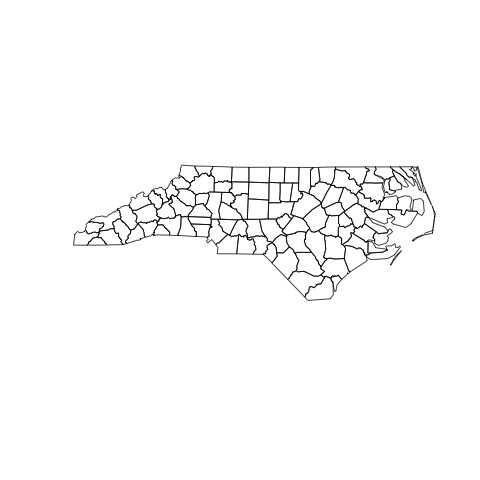 |
plot3_gstat.jpg 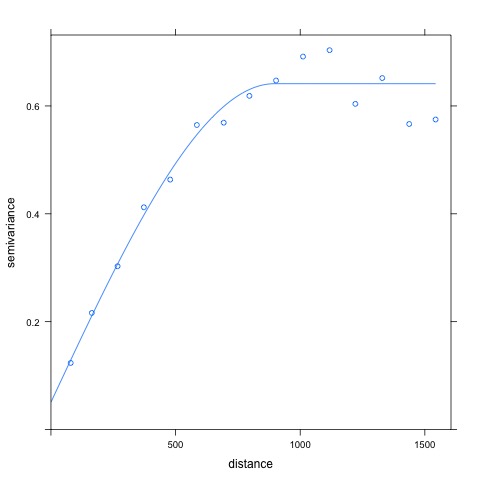 |
plot4_tmap.jpg  |
plot5_daymetr.jpg 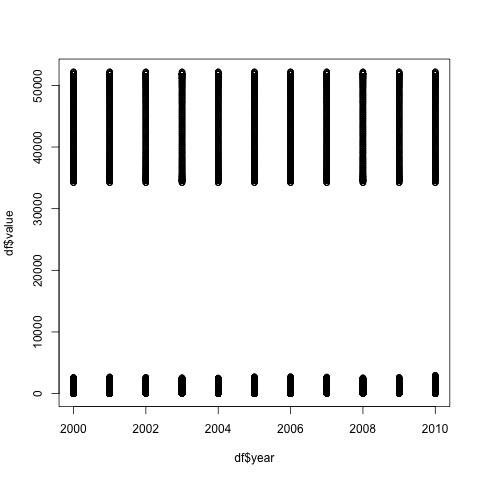 |
plot6_ssurgo.jpg  |
plot7_raster.jpg 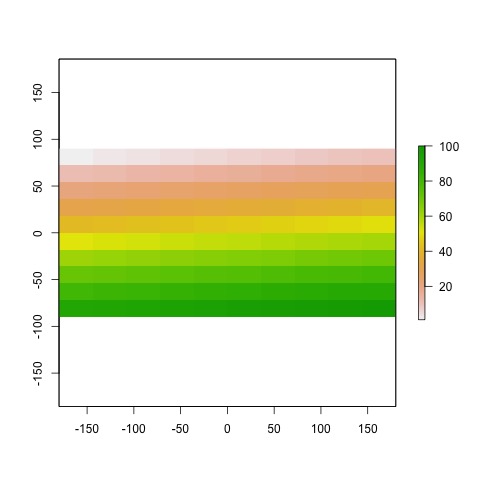 |
plot8_datatable.jpg  |
plot9_broom.jpg  |
Download data for this workshop
The final thing we need to do for this workshop is to download the data. To do this, we need to run one more function. To avoid re-running our test function, we can put a little # in front of this line. So the code in our script will now look like:
source('https://raw.githubusercontent.com/data-carpentry-for-agriculture/trial-lesson/gh-pages/_episodes_rmd/functions.R')

#run_workshop_test()

download_workshop_data()
If we navigate to our WorkingDir directory we will see that a folder called data and a script called functions.R have now appeared. This process looks like:

QGIS
To download QGIS, visit the QGIS download site and choose one of the standalone installers. (Most people can run the 64 bit version, though if you’re not sure, use the 32 bit package, because 64 bit computers can run the 32 bit edition.)
Note: This is a 500 Mb file, so it’s likely to take some time to download.
Double-click the installation file once it’s downloaded and follow the prompts.
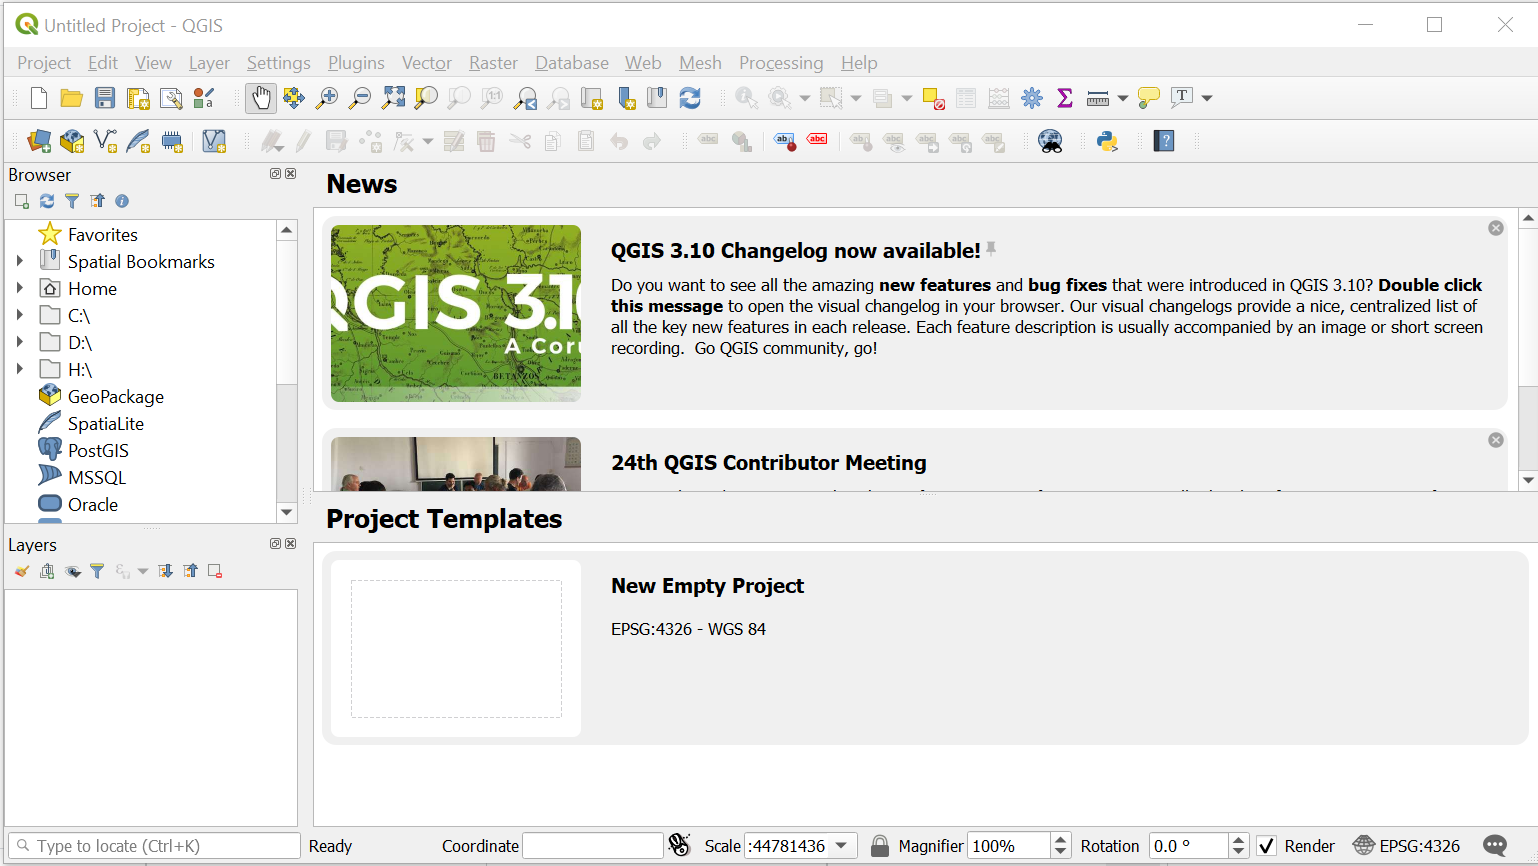
Once you’ve completed the process, you’ll have a new Start Menu folder with several icons in it:

Most of the time you’ll want the regular Desktop version.